By Dee Kruzic
Hey, hey everyone! I’ve missed you! Sorry Connor and I have been away for so long. As all of you can imagine this crazy thang we call life can get a little out of hand. I’ve recently been diagnosed with migraines (HOORAY! God, not so loud…), my new novel is coming out on May 30, and the kid is training for his first triathlon of the summer. Yeah, that’s right. I’ve got myself a cute little athlete! Now that things have calmed down, I’m back on track (track…triathlon…get it…I’ll stop now).
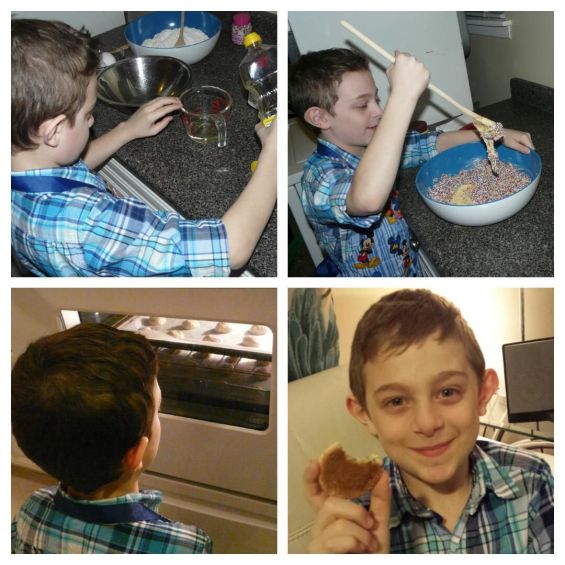
For this edition of Connor in the kitchen, we decided to try something new with an old favourite – grilled cheese! My momma taught me how to make greasy, buttery, gooey grilled cheese when I was younger. It was always a messy delight to munch on, accompanied by the standard bowl of t’mater soup. YUM.
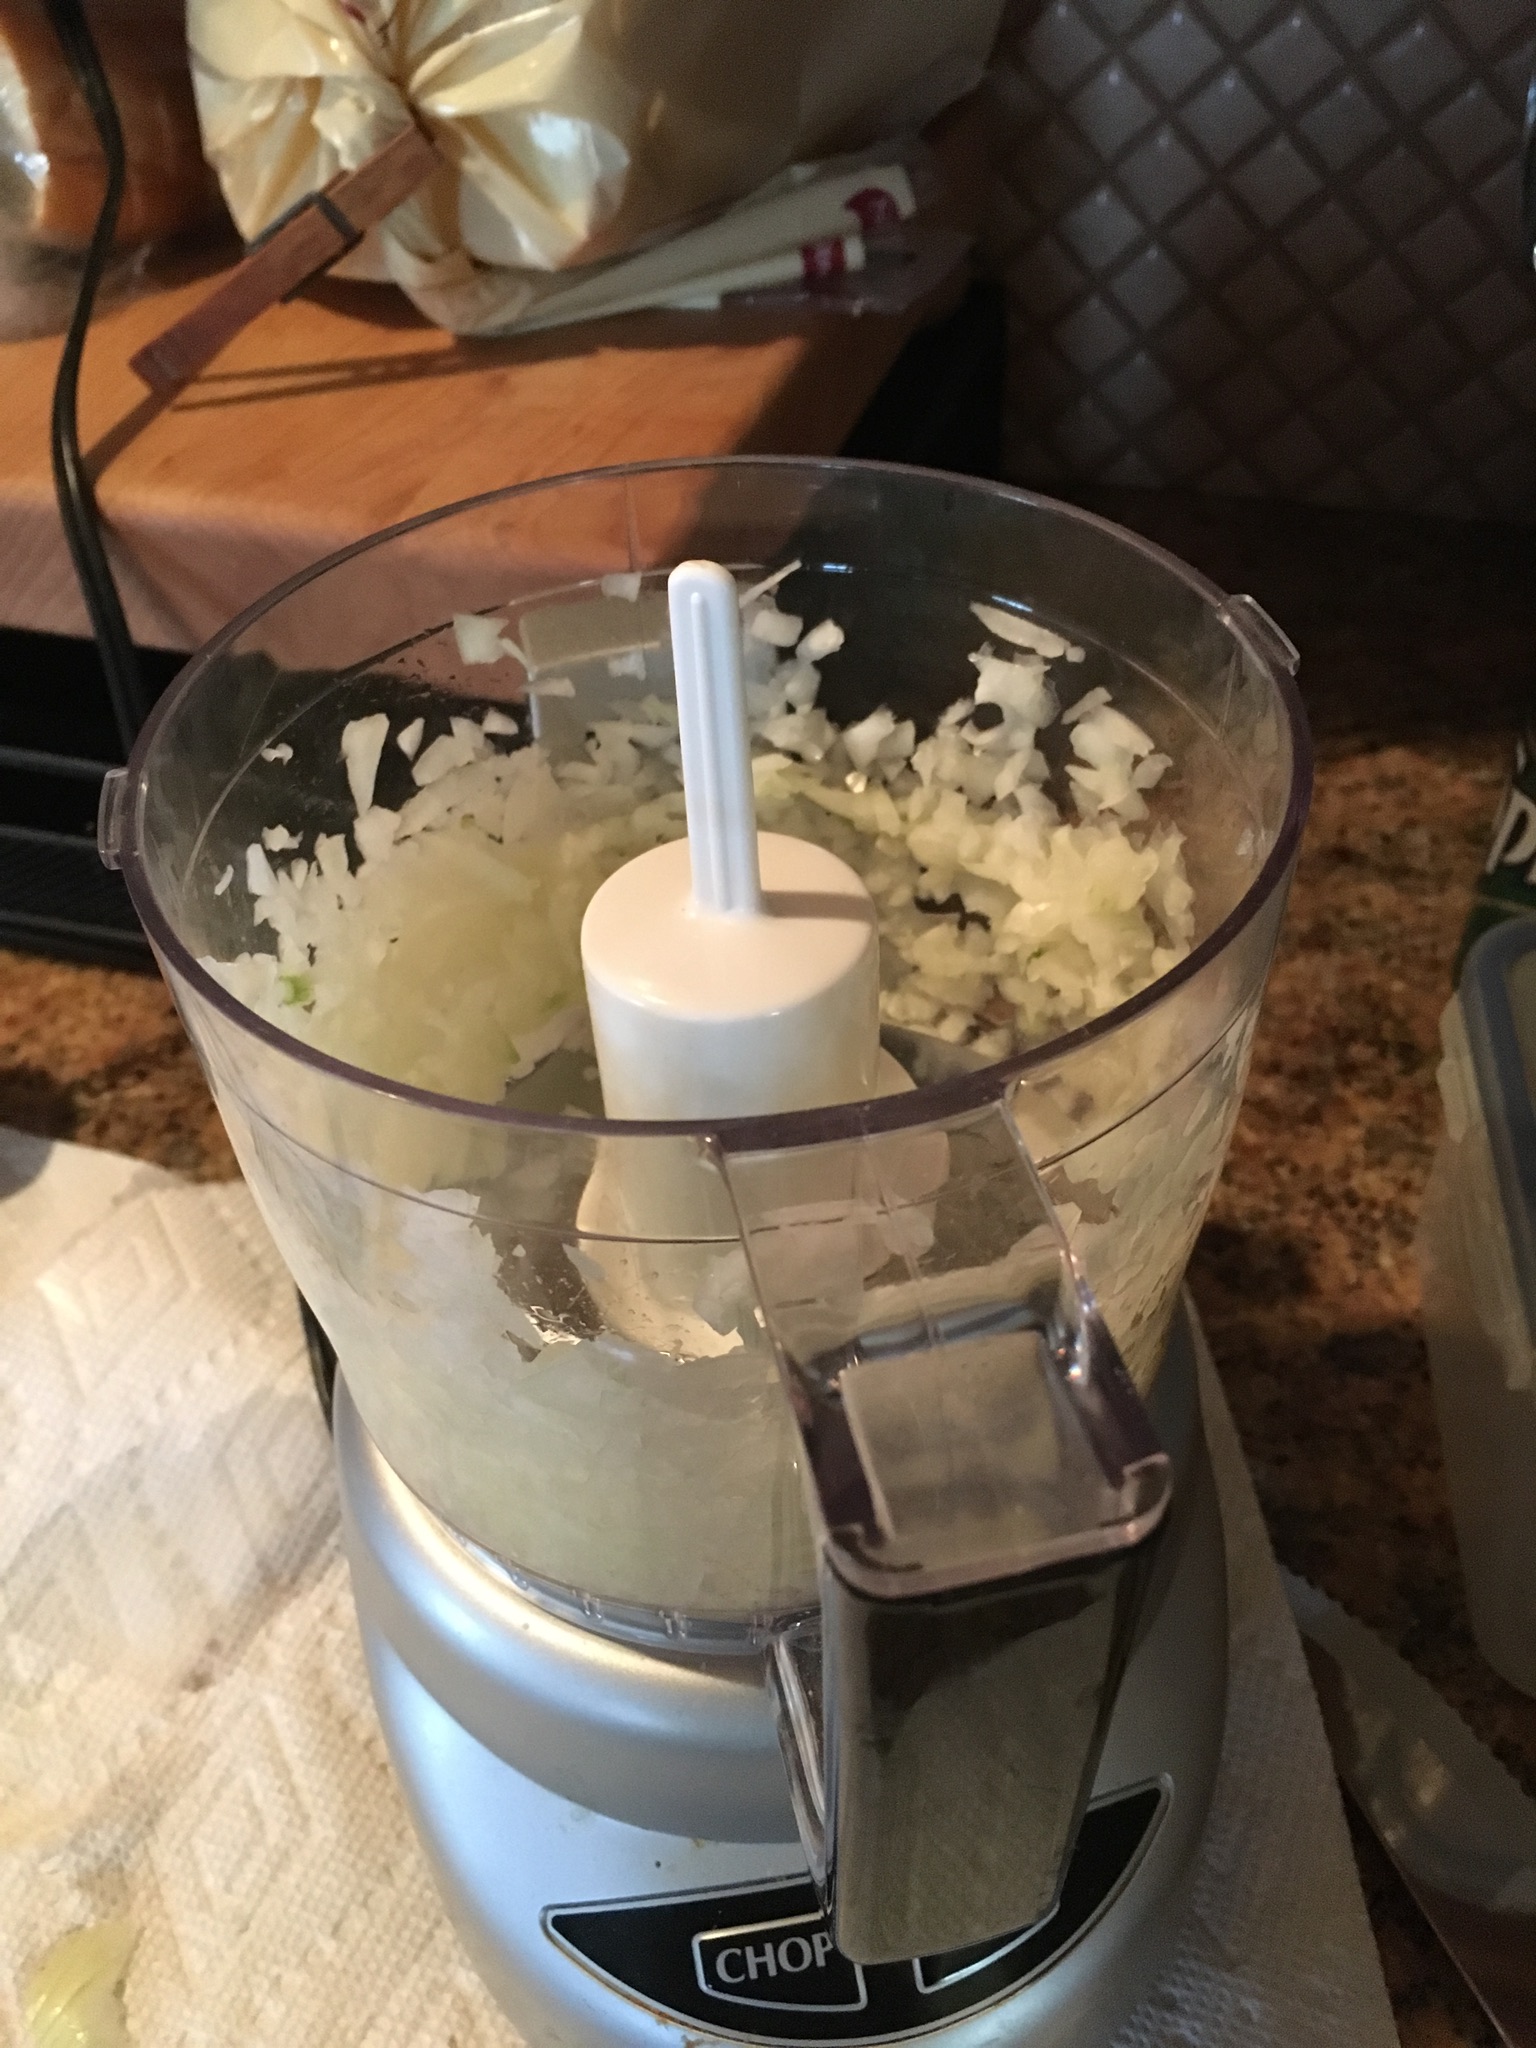
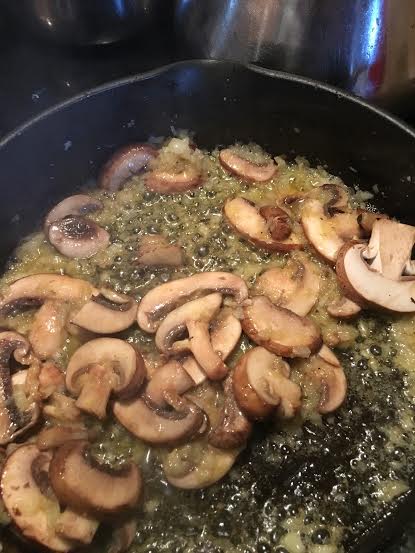
As an adult, I’ve tried sprucing up my grilled cheese in a variety of ways – adding in sautéed mushrooms and onions and peppers, or using Swiss cheese and ham, or even some mozza and pepperoni (I call those grilled cheezzas – you’re welcome). Connor isn’t into all the fluff and fanciness that those options offer. He’s a bread ‘n cheese kinda guy. So what could we do to change up the standard grilled cheese for him and make it a bit more fun?
And so Grilled Cheese Dippin’ Sticks were born. *light shines from above*
These are a neat, and healthy, variation of the traditional grilled cheese sammich, as they’re not tossed in a frying pan but instead baked in the oven! And the bonus is they are JUST as delicious! They may take a few extra minutes to prepare, but it’s time well spent, and Connor absolutely loved them. You can still spice these babies up by julienning some veg and rolling those up in the centre, too. Variations are endless. As are dippin’ choices! My son is a ketchup monster, but you can mix it up and dip yours in Ranch, sriracha ketchup, or concoct your own….er…concoction!
Have you tried something like this before? What would be in your ultimate Grilled Cheese Dippin’ Stick?

Until then, from the monkey and I … Bon Appetit!
Dee
Grilled Cheese Dipping Sticks

Here’s what you need to make 6 cheesy sticks:
- 6 slices of bread – white, whole wheat, whatever you like!
- Cheese – I prefer shredded cheese! Any type ya like! I find it melts better
- Butter, softened to room temp for easy spreading
- A knife
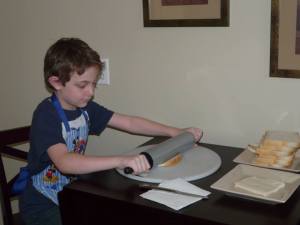
- A rolling pin
- A cookie sheet
- Patience and an endless supply of paper towel, if your little one is assisting
Directions:
Preheat oven to 450°F.
Carefully cut the crusts off each slice of bread.

Take a rolling pin to those suckers! Roll each slice out thin. Do NOT roll it too thin or you’ll be cussing, believe me.
Add some cheese to each slice – sprinkle that yumminess on!
Roll up into little cigar shapes.
Coat each dippin’ stick with butter. You can also add a little butter on the inside of the seam to help it stick better.
Please each dippin’ stick seam side down on the baking sheet.
Bake in 450°F oven for 6-7 minutes; flip ‘em over, and bake for an additional 6 minutes, or until the entire stick is brown and crispy.
Serve, dip, and enjoy!

Dee’s Bio!

Dee is a single mom livin’ the life with her son, Connor, and two furry babies, Cassie and Max. Always having loved the written word, Dee is an author of erotic romance under the pen name Madison Night, and has decided to venture out into the world of blogging – mainly because she can’t keep her typing fingers quiet. They always have something to say! Lover of music and food, aspiring traveler, animal lover and more! Have a topic you want Dee to cover in her Off The Cuff column? Send The Scoop a message, and let her know!
Save


 Dee is a single mom livin’ the life with her son, Connor, and two furry babies, Cassie and Max. Always having loved the written word, Dee is an author of erotic romance under the pen name Madison Night, and has decided to venture out into the world of blogging – mainly because she can’t keep her typing fingers quiet. They always have something to say! Lover of music and food, aspiring traveler, animal lover and more! Have a topic you want Dee to cover in her Off The Cuff column? Send The Scoop a message, and let her know!